
Gravel Pathways: A Step-by-Step Guide to Building Durable and Beautiful Paths
Gravel is among the most useful and versatile materials available to any landscape designer. Whether you’re a professional looking for reliable results, or a DIY gardener looking to add some low-maintenance elegance to your outdoor space, there’s probably a gravel that suits you.
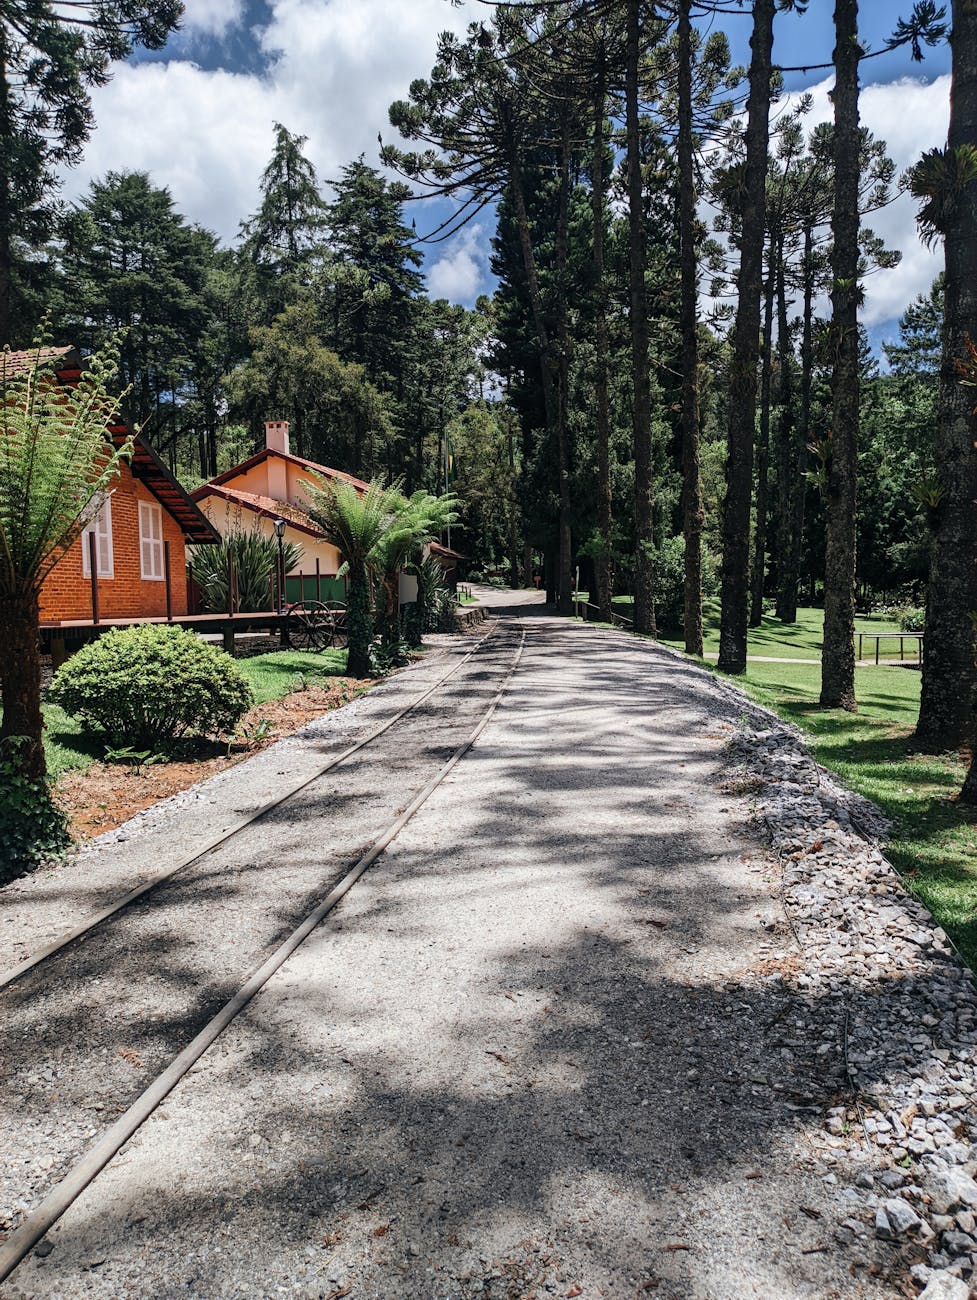
Gravel can be particularly effective when used as part of a pathway. But exactly how do you go about creating a gravel pathway, and what mistakes might you avoid?
Planning Your Gravel Pathway: Tools, Materials, and Design
Before you start work, you’ll need an idea of what’s needed. One of the major advantages of gravel, as a material, is that you’ll have some flexibility to change things midway through. However, you’ll still need to work out how much space you need to fill, and how much gravel you’ll need to get it done. Consider buying gravel bags in bulk to ensure you have enough material to cover the pathway evenly.
Of course, simply spreading stones across your lawn isn’t enough. You’ll also need a suitable trench to contain them (which means, at the very least, a spade), and a membrane to prevent weeds from sprouting up from beneath. A hammer, rake, and Stanley knife can all be useful, too. Finally, you’ll need a tamper or a roller.
Preparing the Ground: Clearing, Levelling, and Laying the Base Layer
When you have your proposed pathway marked out, and you’ve dug a trench, you can start to level things. This is critical if you want a smooth, low-maintenance path later on.
At the very bottom of the trench should be a base of very fine crushed stone. This can be raked flat and then compacted using your tamper. Lay the membrane on top of this, and you’ll have a perfectly flat base from which to work.
Laying the Gravel: Spreading and Compacting for a Professional Finish
Now, you can actually spread the gravel. Make sure that you do this evenly by first setting down the bags at regular fixed intervals. This will help to prevent major inconsistencies. It’s time-consuming to move gravel from one part of the path to another after it’s been laid – so make sure that you get it as even as possible to begin with, and then rake it until it appears smooth enough.
Finishing Touches: Edging and Maintaining Your Gravel Path
The edges of your garden path should ideally be clearly defined. You can use stone, timber or metal elements to mark the edge, and to prevent gravel from being knocked into neighbouring grassy sections. Gravel may need to be topped up over the years, as bits of it might naturally be kicked away, especially around high-traffic areas. A spare bag doesn’t hurt!
Leave a Reply
You must be logged in to post a comment.